Breast pumping while traveling can be daunting, especially if it’s your first time. Being successful goes beyond just knowing the TSA regulations and breast milk storage. A holistic approach to traveling with breast milk that considers your comfort and stress level is essential.
As a first-time mother with a job that requires me to travel every few weeks across the US, I had to learn how to pump and store breast milk while traveling. I learned how to pump anywhere, from cozy airport pumping pods to fumbling in convention center bathrooms. There was so much variety in my TSA experiences that I learned the hard way the most efficient and painless strategies for traveling with breast milk by plane.
We hope you love the items we recommend! Just so you know, Matador may collect a small commission from the links on this page if you decide to make a purchase.
First, stock up on equipment and supplies
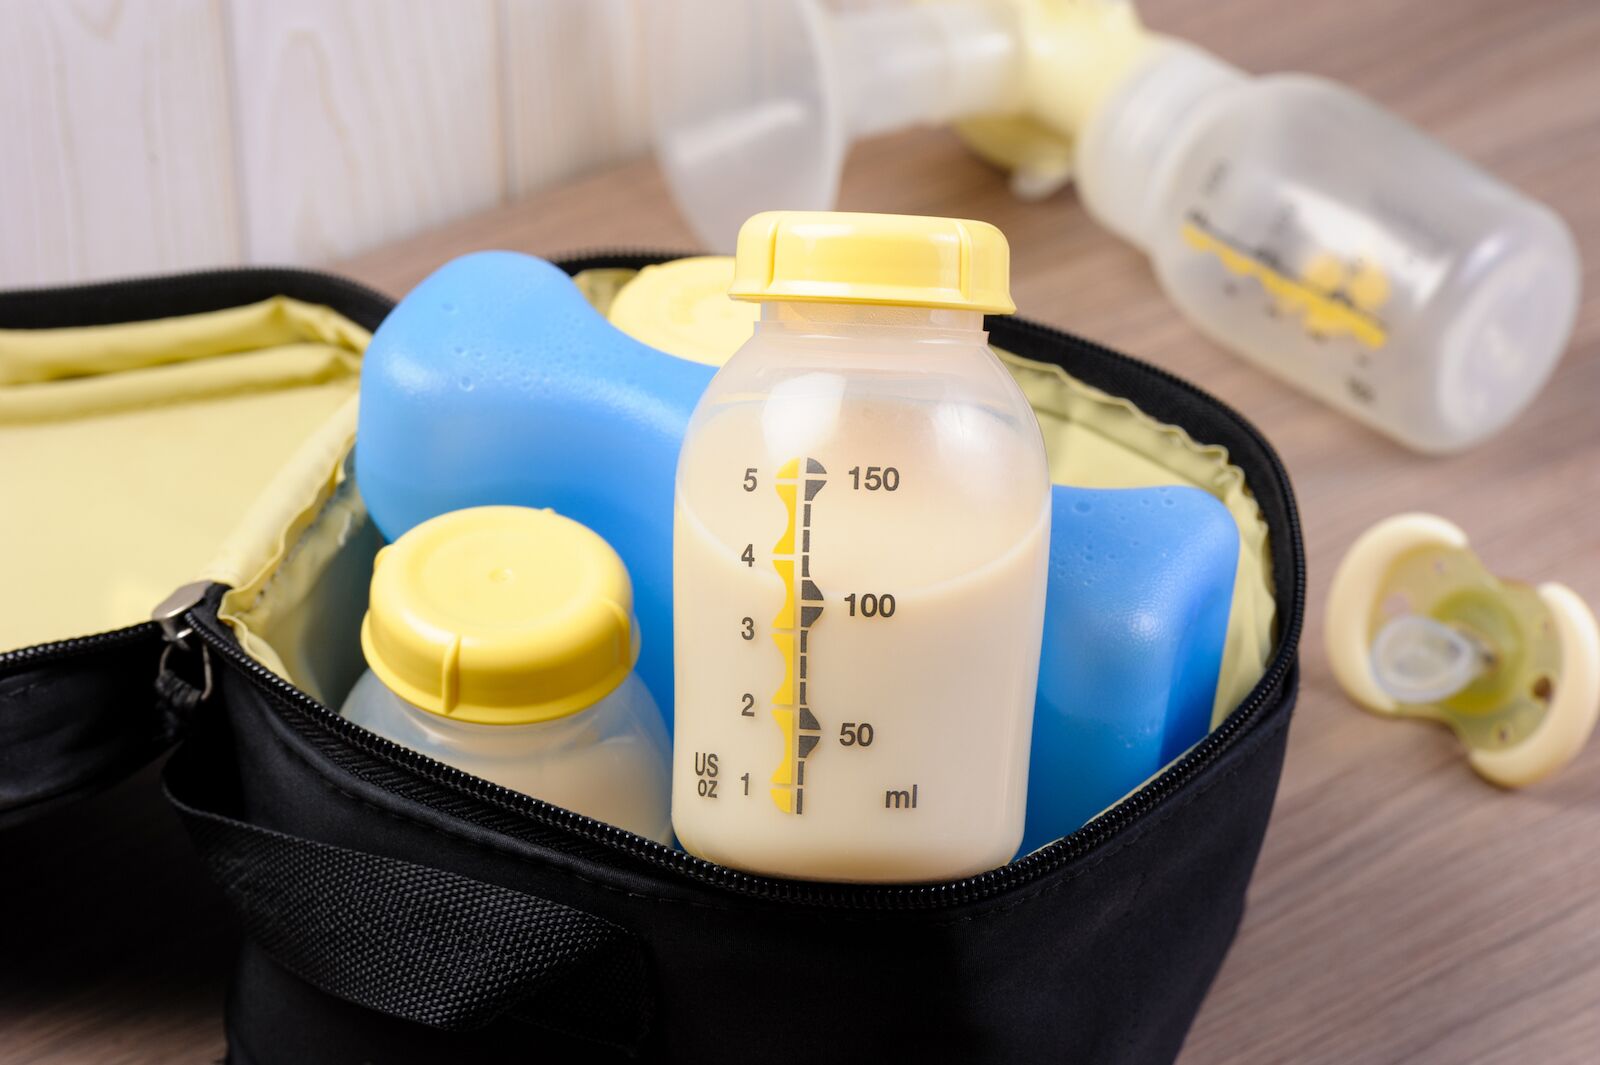
Photo: Nor Gal/Shutterstock
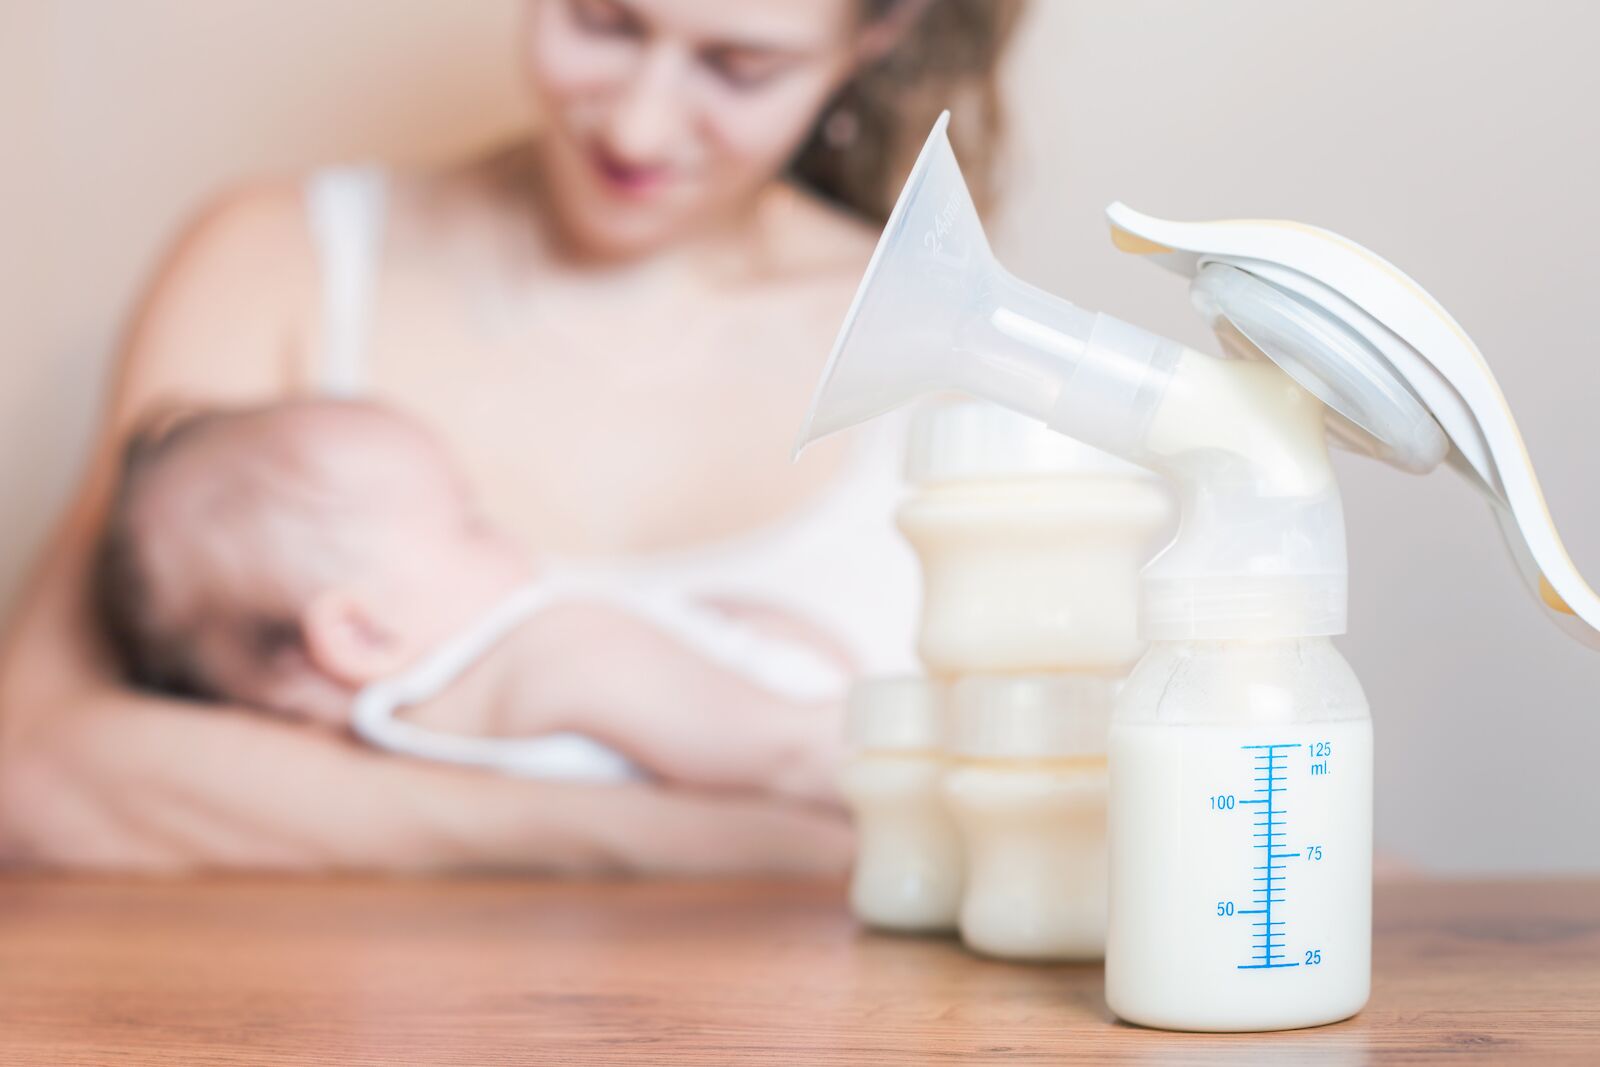
The first thing you’ll need before even boarding the plane is a few essential supplies, especially breast milk storage bags. A popular producer of postpartum products like nursing pads and nipple cream, Lanisoh, makes a sturdy and reliable version that doesn’t leak and that has well-marked measurements. You’ll need to store the milk you pump in these bags in order to transport it home.
Some pumps allow you to attach these storage bags directly to your pumping equipment, but you’ll need to check the exact specifications on your pump. Otherwise, you can use the collectors that come with your pump, then transfer the milk into storage bags. Pump brands like Medela sell breast storage systems that simplify the entire process. You might also need an ice pack and a tote to carry the collectors in; Medela also sells a breast milk cooler set that combines all these items.
Here’s how Elisabeth, new mom and editor at Matador Network, prefers to do it: She usually packs four collectors in the Medela tote, along with an ice pack. At the airport and on the plane, she pumps into those collectors (she finds this is much easier to do with the lighter and more discrete manual pump, but the downside is that you can’t pump both sides at the same time with it.)
Once she arrives at her destination, she transfers the fresh milk into the storage bags which she keeps in the fridge. Throughout her stay, she pumps into the collectors and keeps transferring the milk into the storage bags until they’re full (the maximum capacity on most brands is six ounces.) Depending on the length of her stay, she brings at least ten storage bags with her so that she doesn’t run out of space to store the breast milk.
More breast pump options
- Medela Pump In Style electric double breast pump. This pump is compact, has varying speeds and vacuum control, and is easy to travel with.
- Haakaa manual breast pump. These handheld pumps can be a lifesaver in case your electric pump is out of order, or if you need to do a quick pump without getting out all the gear.
More bag options
- Teamoy breast pump bag backpack with cooler is a practical option to store your breast milk and breast pump in one place.
- If you are traveling with frozen breast milk, the best cooler to travel with is the RTIC soft cooler. It can keep milk frozen for days and is lightweight.
- Quart-sized Ziploc bags to store individual milk bags, your pump, and ice packs. As with milk bags, always bring additional ones.
Sanitation essentials
- Purell hand sanitizer and Wet Ones Plus Alcohol wipes. Any methods you can implement to keep your area and equipment sanitary are key, and you can’t depend on all pumping locations to have supplies.
- Medela quick clean micro-steam bags. These bags can be used for sterilizing bottles, pumps, and other accessories. They kill germs, bacteria, and yeast by using steam in the microwave.
More essentials
- Lanisoh nursing pads. Nursing pads are a must-have item — the last thing you want is to be leaking and headed somewhere important with nothing to wear. You can also use washable ones, but disposable pads may be easier when you travel.
- Small towel, scarf, or blanket to use as a cover-up or as a clean surface to put your equipment on in non-ideal conditions. I use this Bebe au Lait infinity scarf that was specifically made to stretch and wrap around my torso while pumping and feeding.
- Extra batteries. If your breast pump uses batteries, always carry more than you think you need.
TSA regulations and personal recommendations for traveling with breast milk
TSA regulations about carrying breast milk are not straightforward, so be sure to review them before your trip. Even better, print them out and carry them with your breast milk as a reference.
Below is a simplified version of what the TSA website states, but remember that even with a reference on hand, you may still go through extended security screenings, depending on the airport.
- Breast milk is permitted in reasonable quantities through the security checkpoint. Remove the breast milk from your carry-on bag to be screened separately from the rest of your belongings.
- Inform the TSA officer at the beginning of the screening process that you carry breast milk in excess of 3.4 ounce (100 milliliters) in your carry-on bag. These liquids are typically screened by X-ray.
- Bread milk in quantities greater than 3.4 ounces or 100 milliliters are allowed in carry-on baggage and do not need to fit within a quart-sized bag. Remove these items from your carry-on bag to be screened separately from the rest of your belongings. You do not need to travel with your child to bring breast milk.
- Ice packs, freezer packs, frozen gel packs and other accessories required to cool breast milk are allowed in carry-on. If these accessories are partially frozen or slushy, they are subject to the same screening as described above.
Because TSA does not explain what a “reasonable quality” of breast milk represents, each security screening may be different.
Note that you can request that TSA agents not X-ray or open the containers of breast milk.
Tried and tested piece of advice from TSA:
During my first experience flying with breast milk, I filled each breast milk storage bag up to the brim (about six ounces/180 milliliters) and packed them all into quart-sized Ziplocs. Unfortunately, the TSA agent tested each storage bag by opening it and doing a non-invasive scan to make sure it wasn’t a harmful substance and the process was lengthy. While the agent was testing the individual bags, he gave me a piece of personal advice that helped me immensely: Only fill the bags to 100 milliliters (3.3 ounces), at the most. That way, TSA doesn’t have to check each bag individually.
Know your pumping schedule and plan for extra time
Being keenly aware of my pumping schedule and planning for extra time were the two ways I managed to travel with breast milk smoothly.
Know when you will need to pump, what your hour intervals are between pumping sessions, and the maximum amount of time that you are comfortable going between each one. This will help you greatly when you face long security lines or flight delays. Each body and each experience with pumping is different, so make sure you know what is specific to you before you travel.
However, that’s another reason the manual pump is such a lifesaver while traveling. If you find yourself in a long line at TSA, in a taxi, or another crowded location where you might be standing for a long period of time, the manual pump makes it easier to get that pumping session done without worrying about the bulk of the electric pump. Skipping a pumping session could mean hurting your supply in the long run, otherwise. Thankfully, most electric pumps come with a battery pack, so no matter what pump you choose, you don’t have to worry about scrambling to find an outlet.
Plan for delays while going through security with breast milk. As mentioned earlier, how individual airports deal with breast milk isn’t consistent, and so the only thing you can do is plan for even more extra time than usual, and be patient.
Where to pump breast milk when traveling
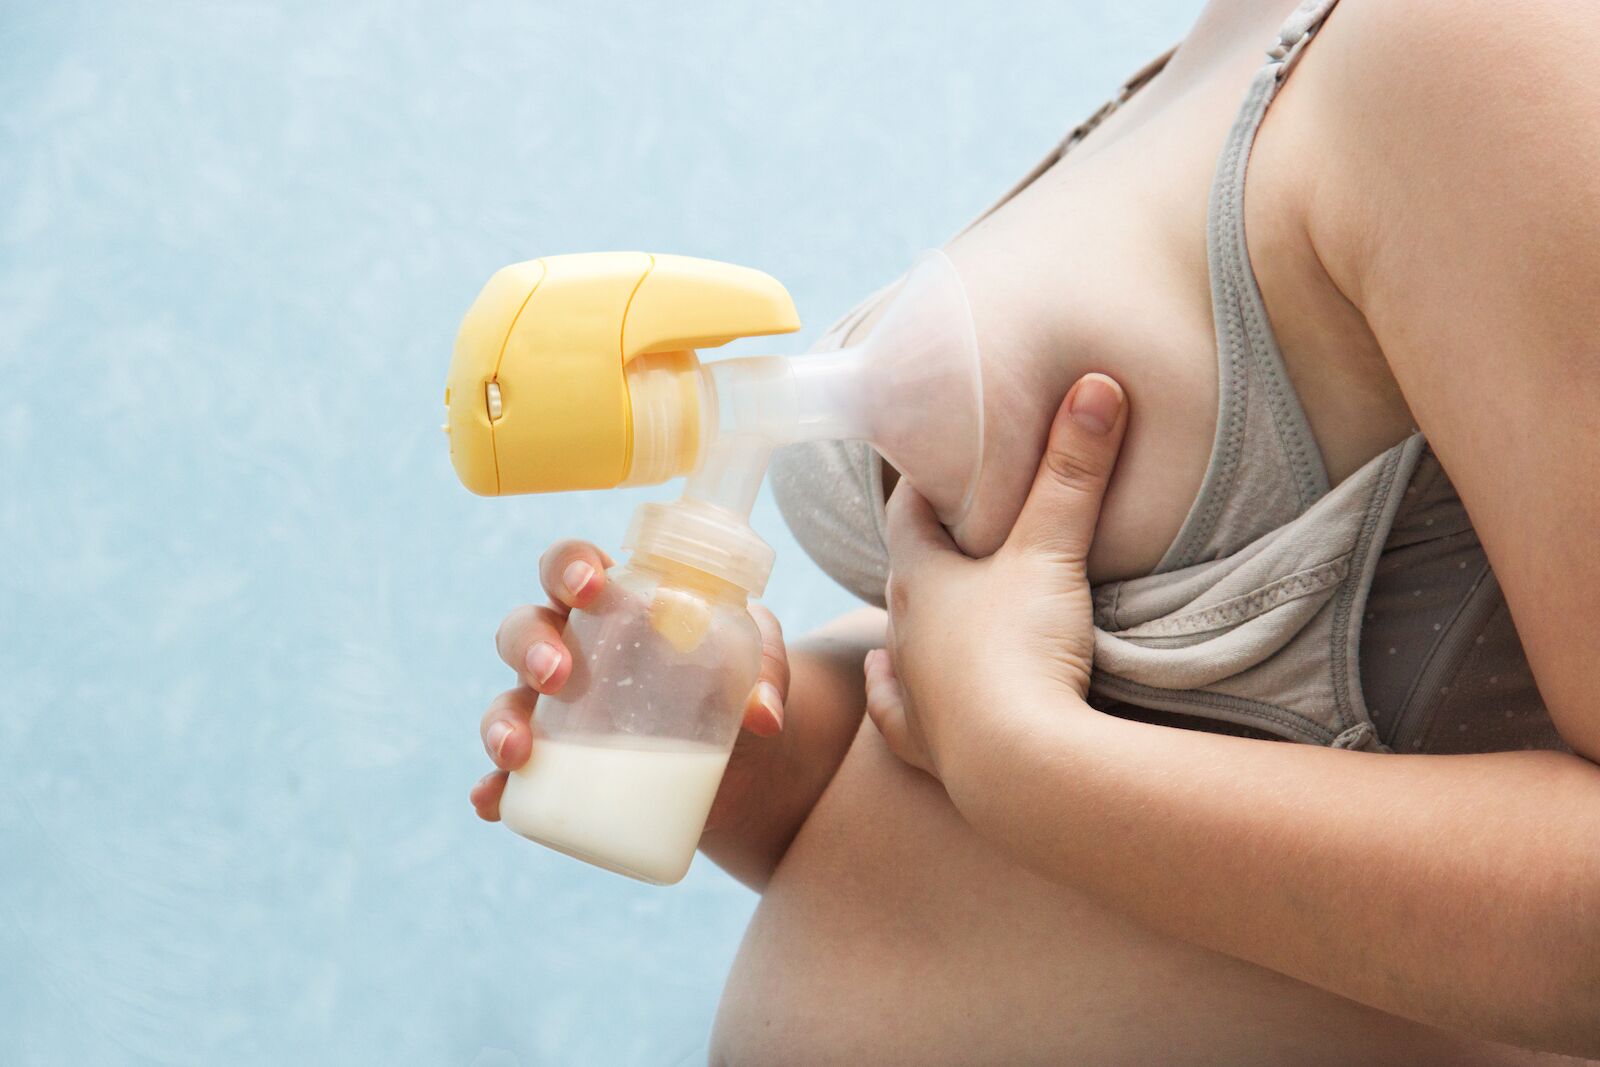
Photo: Luuuusa/Shutterstock
Adjusting to nursing while out in public can take some time. Learning where to pump, however, is less emotional and more tactical: Pumping has more equipment and requires a specific type of space.
At the airport and at some convention centers, I got to use my favorite pumping spot: Mamava pods. These spacious, clean pods were originally created for nursing parents, but work great for pumping too. Many are wheelchair accessible and if you download the Mamava App, you can find their locations wherever you may be. It is a great place to go and pump in peace and not fret about sanitation (they often came stocked with hand sanitizer and wipes.)
On the plane, I found my only options were to pump in the tiny bathroom or in my seat. Try to pump before or after your flight, and if you have no choice but to pump on the plane, bring a blanket, sweater or large scarf for your discretion.
On location, your type of space will vary. Hotel rooms are an obvious pumping locale, and Mamava pods wherever possible are my preferred options. I didn’t always have these options and ended up pumping in convention center bathrooms, often on changing tables in family stalls. Make sure you clean your areas before pumping to minimize contamination risks, and don’t feel guilty about how long you might need the space. These spaces are for you and you’re doing the best you can with what you’ve got.
Ways to store non-frozen and frozen breast milk when traveling
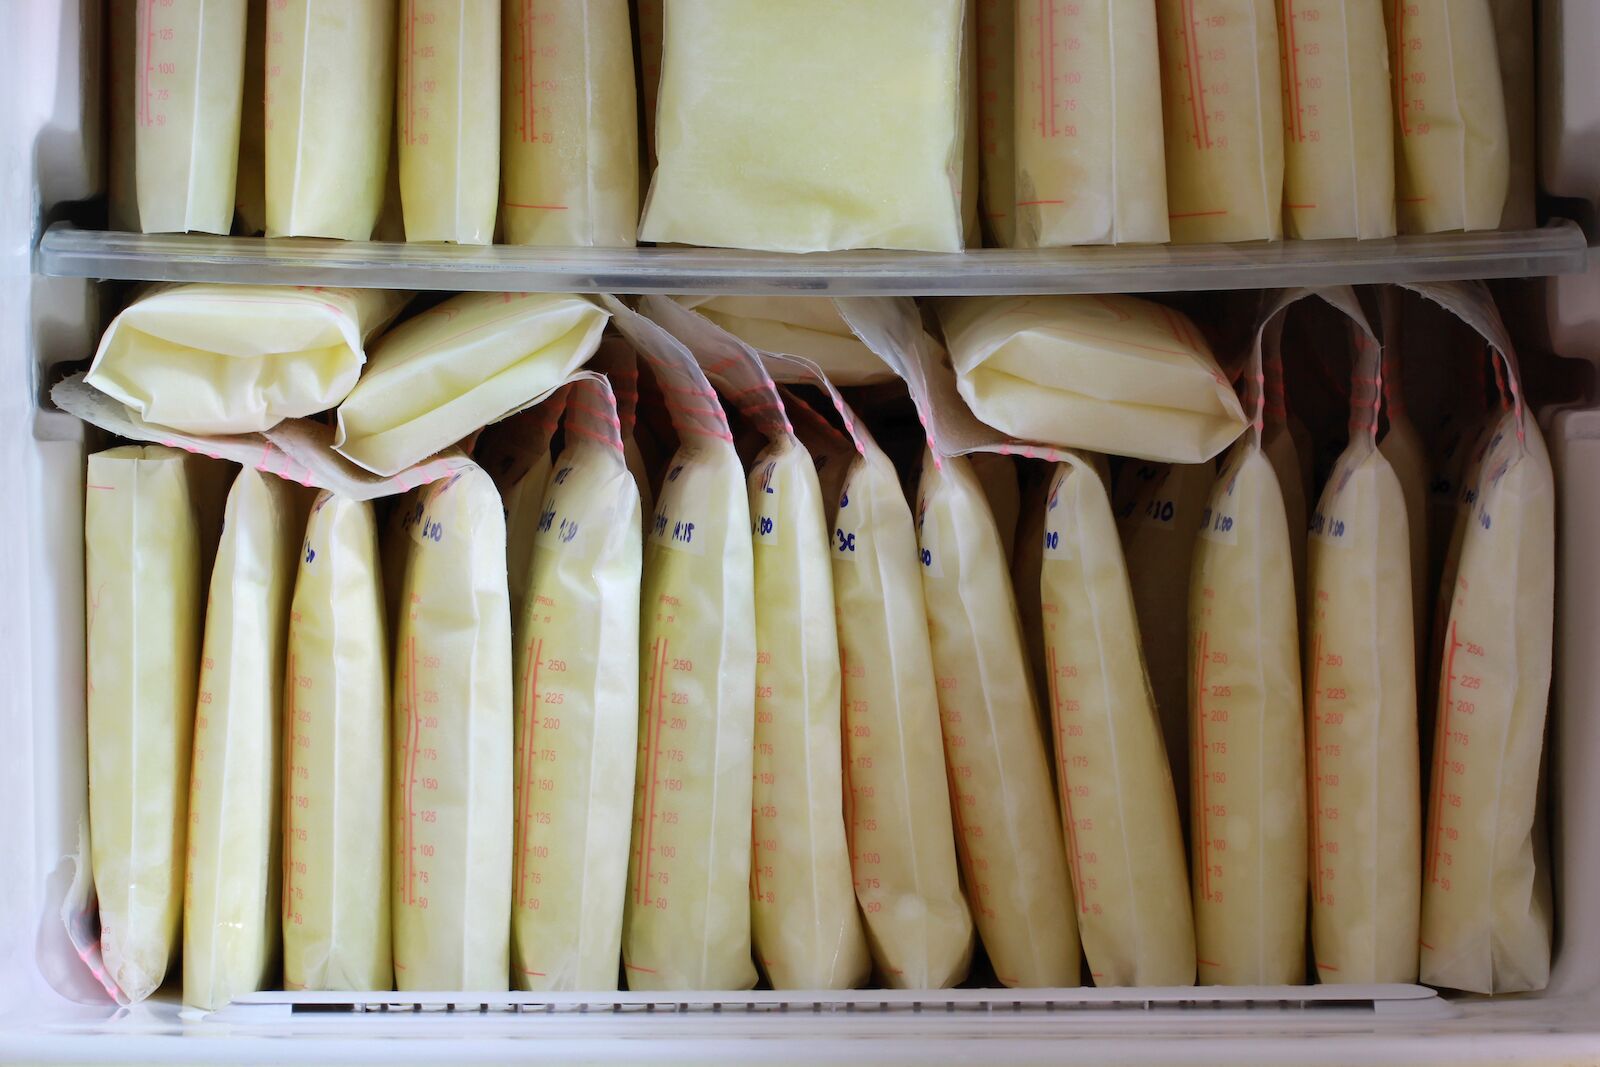
Photo: Monthira/Shutterstock
Traveling with non-frozen breast milk
Know that refrigerators in hotel rooms are no longer the standard to depend on. If you can, check this before you get to the hotel, so you will know if you will have to pump and dump (meaning you would, as heartbreaking as it is, dump your milk out because there is nowhere to store it) or rent a fridge from the front desk. Depending on where you’re staying, you can request a mini fridge, and specify that you’re using it to store breastmilk — you usually won’t be charged.
If you do use a fridge, make sure the fridge you use is plugged in, stays cold, and isn’t turned off by a certain lightswitch in your room. Also, remember that breast milk can only be in a fridge for four days before it needs to be thrown out. When in doubt, throw it out: contaminated milk isn’t worth the health risks.
If you’re away from your baby for more than four days don’t despair! There are still ways to get your breast milk to them so that it doesn’t go to waste. You can use services like Milk Stork, a breast milk shipping company that will ship your milk home quickly, or you can purchase a cold storage box from Fedex, pack your milk into it, and drop the box at the nearest Fedex store, where it will be delivered to your doorstep within 48 hours.
Traveling with frozen breast milk
If you are traveling with frozen breast milk, consider ways to keep your cooler as cold as possible as long as possible. Pack it with lots of frozen ice packs, and pack milk tightly, as air flow will cause your milk to thaw faster. You can minimize gaps between storage bags by using newspaper as packing material and line your cooler with aluminum foil to keep the cool air inside. Keep the cooler closed as much as you can to keep the temperature cold. By following these methods, your milk should stay cool for 24-48 hours. ![]()
No comments:
Post a Comment